How to Install In-Wall Speakers
Installing in-wall speakers can be a great way to enhance the audio experience in your home without sacrificing space or aesthetics. In-wall speakers are a discreet and efficient alternative to bulky traditional speakers, providing a high-quality sound that can be seamlessly integrated into your walls. This article will discuss the benefits of in-wall speakers and what to consider before installing them. Whether you’re a music lover, movie enthusiast, or simply want to upgrade your home entertainment system, installing in-wall speakers can transform how you experience sound in your living space.
The type of wall does matter
This guide will presumptively assume that you’re mounting your in-wall speakers into a drywall that is easily pierceable. While in-wall speakers can be easily installed in most American homes, the situation will be very different for those with brick walls. We strongly advise contacting a local expert if you want to install your in-wall speakers in a brick wall.
What We Recommend You Use
Drywall Cutter
A drywall cutter is probably lying around somewhere in every house. Since you need to drill a hole to mount your speaker, this is a necessary tool for installing in-wall speakers.
Screwdriver
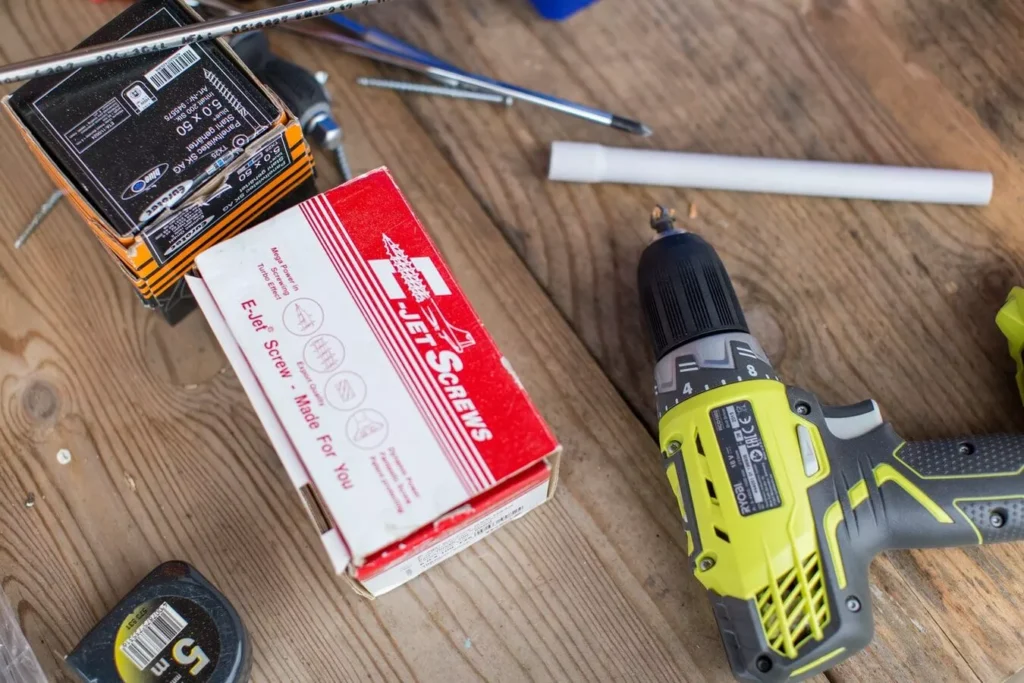
It’s best to have a screwdriver multi-tool because screw heads can vary, just to be safe. This is yet another necessary tool for mounting the speaker.
Carpenter’s Pencil
Before cutting, you’ll need to mark the speaker hole with a pencil. Any pencil will work for this task, but a Carpenter’s Pencil is the proper choice. If you decide to move the hole, be sure the pencil can be erased. If you make a mistake, a Sharpie or pen is more difficult to erase.
Drill
You will need a drill to create a pilot hole before using your drywall cutter. If you need to run the cable through wall studs, a drill will also be useful. If the stud is beyond the reach of a standard drill bit, be sure to have a long drill bit.
Spirit Level
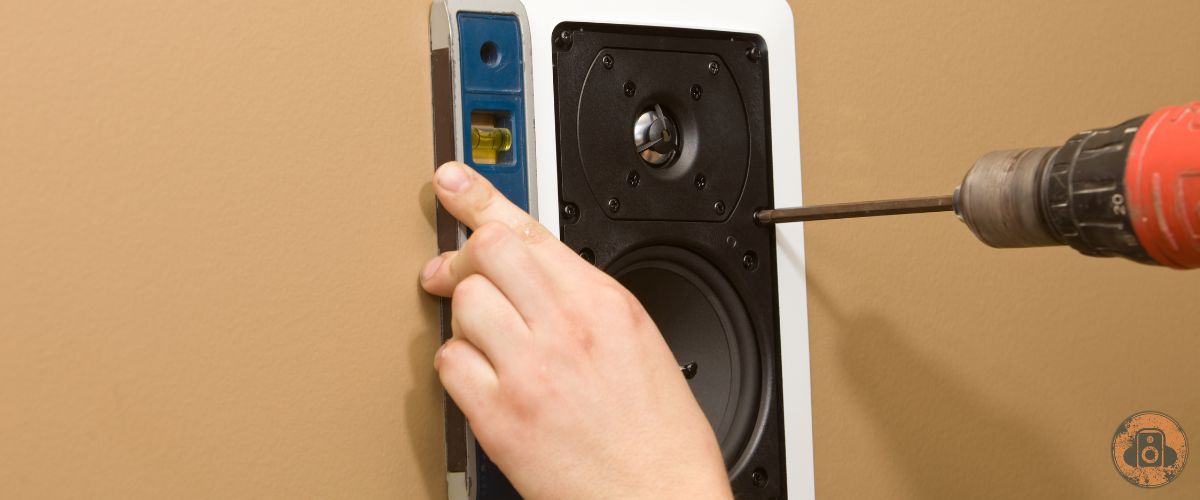
You must still make sure your speaker is level even though in-wall speakers come with a template. A spirit level is required for this.
Wire Coat Hanger or Stud Detector
The best method for finding studs in your wall is still to have a stud detector on hand, though a wire hanger can be used to feel inside for obstructions or studs. When used in tandem, these two instruments can give you a good understanding of what’s going on behind your drywall.

While building the room is the simplest time to install in-wall speakers, dry-walling is still a relatively simple option. When mounting in-wall speakers in the incorrect location, for example, the installation process can become very difficult (such as directly in front of infrastructural support, wiring, or plumbing).
It is a very different process to install in-wall speakers into a brick wall, so we strongly advise consulting with a professional installer who can help you.
Get Your Tools Together
Get the speaker template and put together the necessary tools. A piece of cardboard that comes with the speaker could serve as the template. This can be used as a stencil because it will be the exact same size as the speaker you want to cut.
Check For Studs
To make sure your desired installation location is feasible, choose your installation locations and use a stud-finder or wire hanger.
Trace the Template
Align your cutting location with the template and a spirit level, then trace an exact outline of the template with a pencil.
Cut Out The Shape
Cut out the portion of the wall that was marked with a pencil using your drywall cutter.
Remove The Speaker Grille
Grab your speaker and take off the front grille to gain access to the screws.
Align The Rear Mounting Clips
If your speaker has dog-leg clips on the back, angle them vertically so that they are parallel to the speaker. Once you start screwing, the dog-leg clips will drop down and help hold your speaker in place.
Mount The Speaker
After inserting your speaker into the cutout, check the positioning with the spirit level once more before fastening the screws.
Run The Wiring
All that is left to do is run the wiring from your speaker to your amplifier once everything is fixed in place.
